
Create and manage resource groups
By Village

2 minutes
read
Custom resource groups allow you to create personalized groupings of resources. For example, you might want to group your staff based on their working hours or specialties, group spaces by size, or create a group that includes all resource types related to a specific category—like a particular sport, dance genre, or age group.
Note that resource groups are not shared among users with access to the provider account. Only you can see and select the resource groups you create.
When is this useful?
Custom resource groups help you optimize your resource calendar view by allowing you to check utilization per group. Learn more about the calendar tab viewing preferences.
Create custom resource group step-by-step:
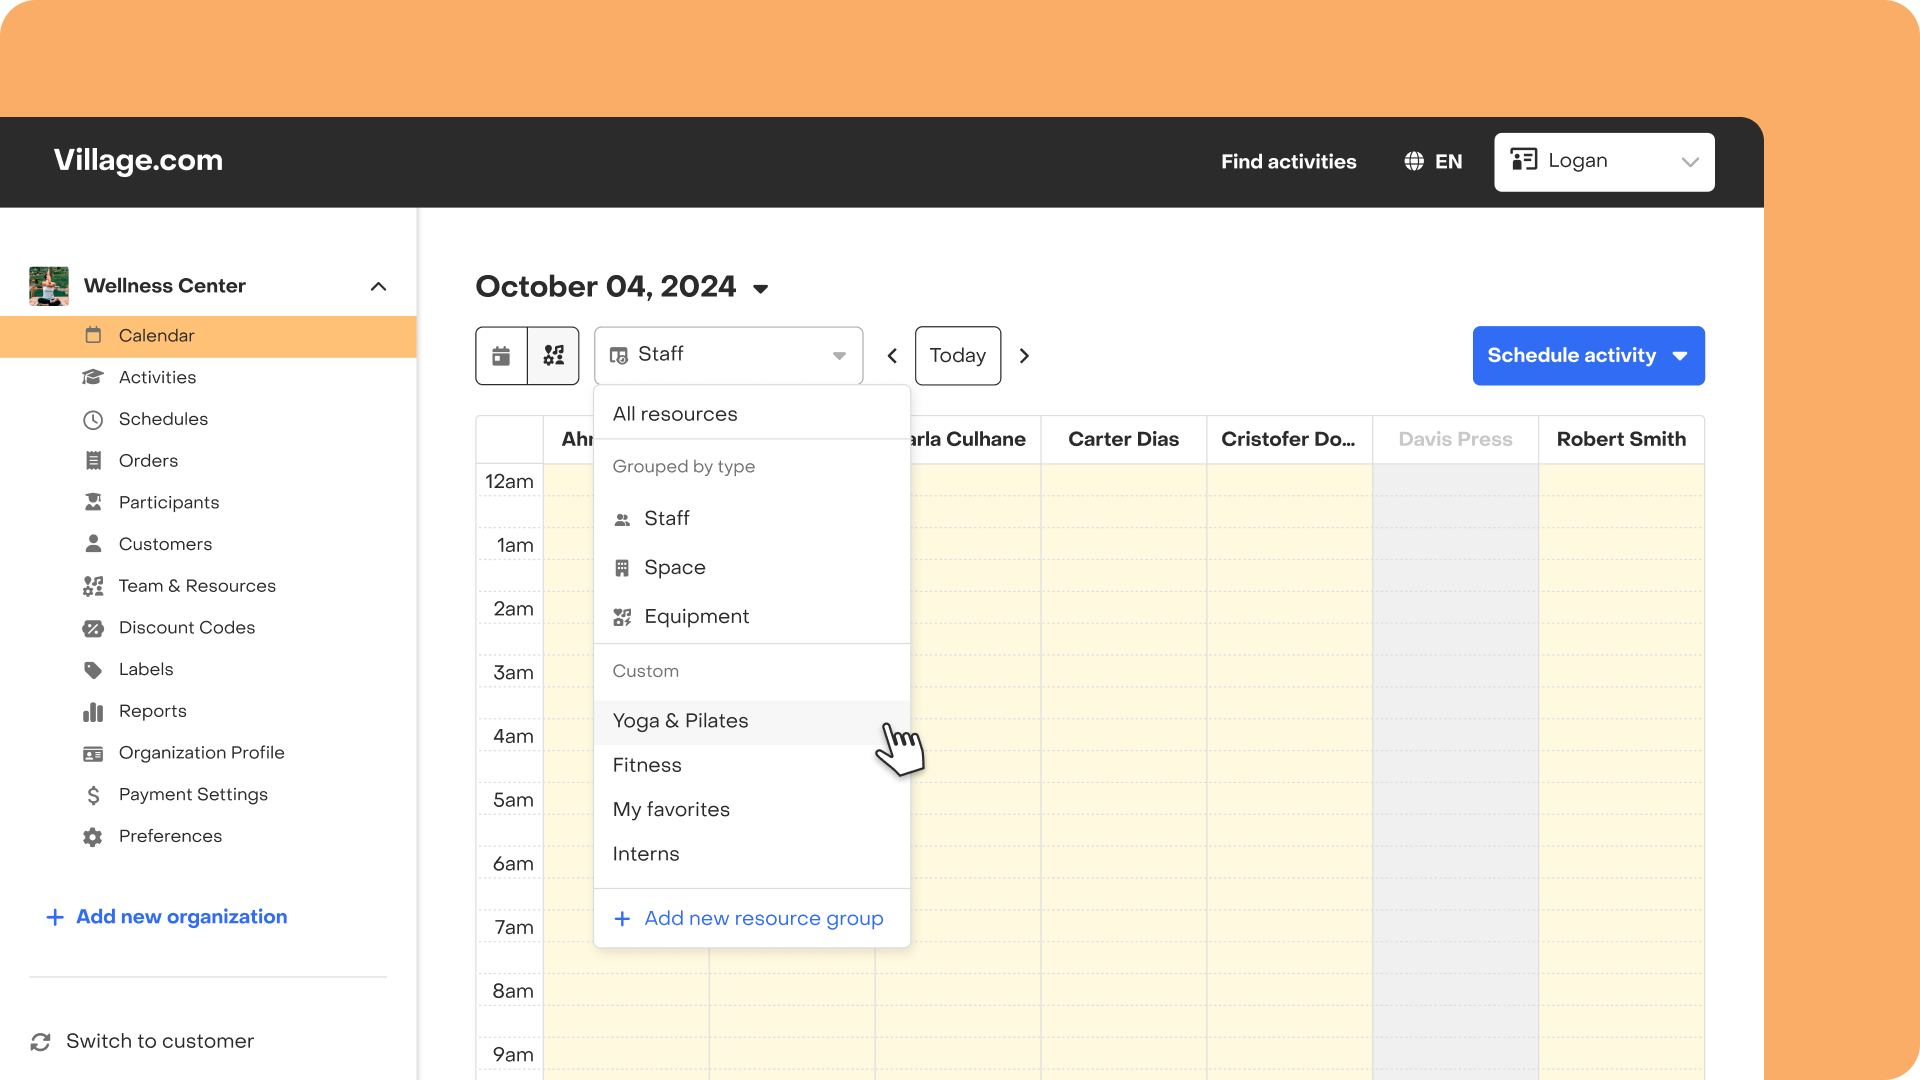
- Log in to your account and go to the “Calendar” tab.
- Switch to Resource View.
- Click on the dropdown menu that defines the resource columns to display.
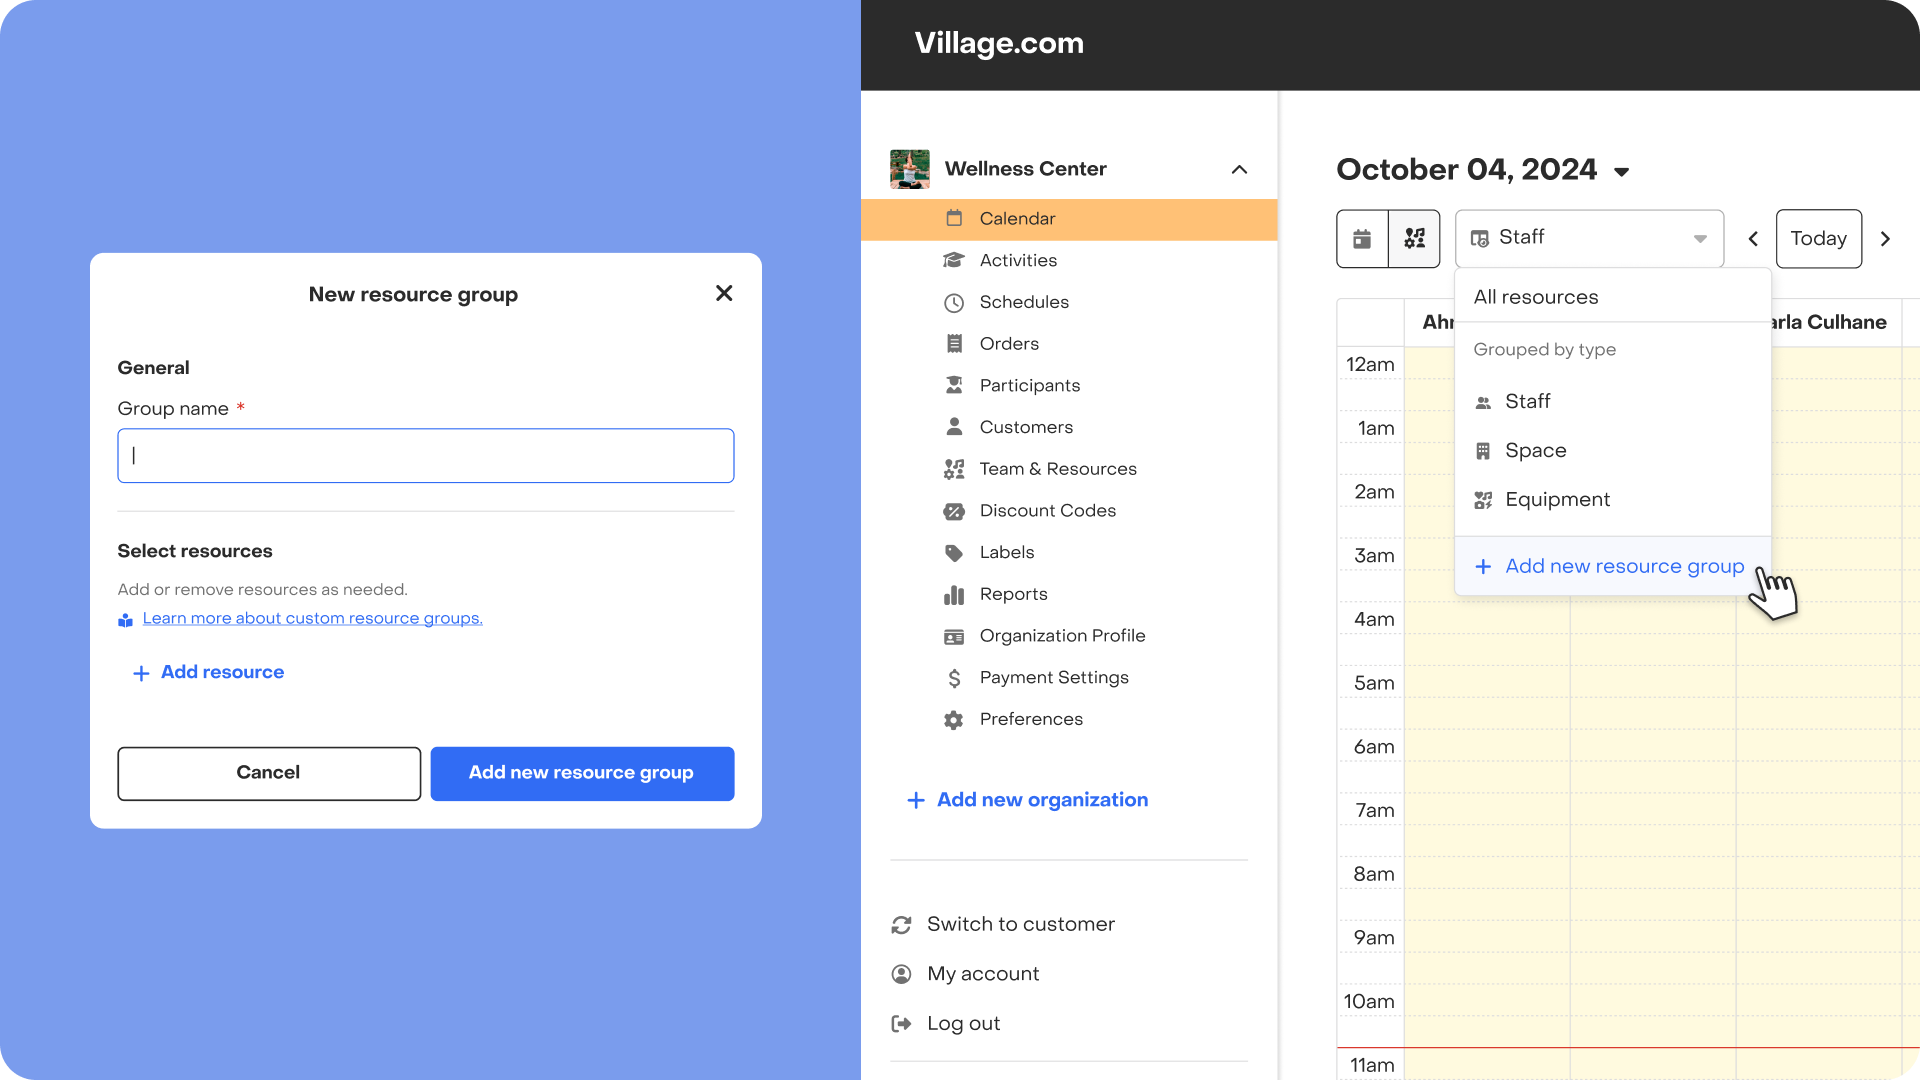
- Tap on “+ Add new resource group”
- Assign a name to the group.
- Select the resources you want to include in the group. You can pick any resource, regardless of type.
- Once you are done, click on “Add new resource group”.
💡 Pro Tip: The order in which you select the resources will determine the order of the columns in the calendar!


Delete a resource group
- Log in to your account and go to the “Calendar” tab.
- Switch to Resource View.
- Click on the dropdown menu that defines the resource columns to display.
- Hover over the resource group you want to delete and click the trash icon.
Edit a resource group
- Log in to your account and go to the “Calendar” tab.
- Switch to Resource View.
- Click on the dropdown menu that defines the resource columns to display.
- Hover over the resource group you want to edit and click the edit icon.
If you experience any issues while using this feature, please contact us.
Have feedback?
Let us know!
